

Key Takeaways
- A trigger upgrade and proper scope mounting deliver the biggest real-world accuracy gains on any Ruger M77.
- Always confirm your exact model variant—tang safety, MK II, or Hawkeye—before ordering parts or accessories.
- Perform safety verification and function checks after each modification.
- Upgrading a Ruger M77 should correct factory limitations and improve stability, not unnecessarily redesign the rifle.
- These recommendations draw from more than 35 years of gunsmithing, CNC machining, and field-hunting experience.
Quick Answer: Is It Worth Upgrading Your Ruger M77?
Understanding the Ruger M77 Platform
Over nearly six decades the platform has evolved through three major generations, each with distinct internals that matter when you upgrade.
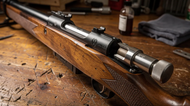
The Ruger M77 launched in 1968, designed by L. James Sullivan with an investment-cast receiver and early wood stocks shaped by Lenard Brownell.
The main variants you need to know:
- Original tang safety M77 (1968–~1991): Two-position tang safety, push-feed bolt, external claw extractor. Factory trigger pull often 4–6 lbs with significant creep.
- M77 MK II (1991–~2006): Three-position wing safety, true controlled-round-feed (Mauser-style), fixed blade ejector, hammer-forged barrels. Trigger pull typically 3.5–5 lbs.
- Hawkeye (2006–present): LC6 trigger with smoother pull around 2.5–3 lbs, slimmer stock contours, refined barrel profiles.
- Specialty variants: 77/22, 77/17, 77/44 in rimfire or pistol caliber configurations with their own trigger geometry.
Common chamberings range from .243 Win and .270 Win through .30-06, .300 Win Mag, and magnum calibers like .338 Win Mag and .375 Ruger. Recoil level influences which upgrades to prioritize. Many aftermarket parts are labeled generically as "Ruger model 77," so always check your exact roll marks and serial range before purchasing anything.
Chamber throats on older M77s may be exceptionally long, affecting bullet seating depth and accuracy potential with factory ammo.
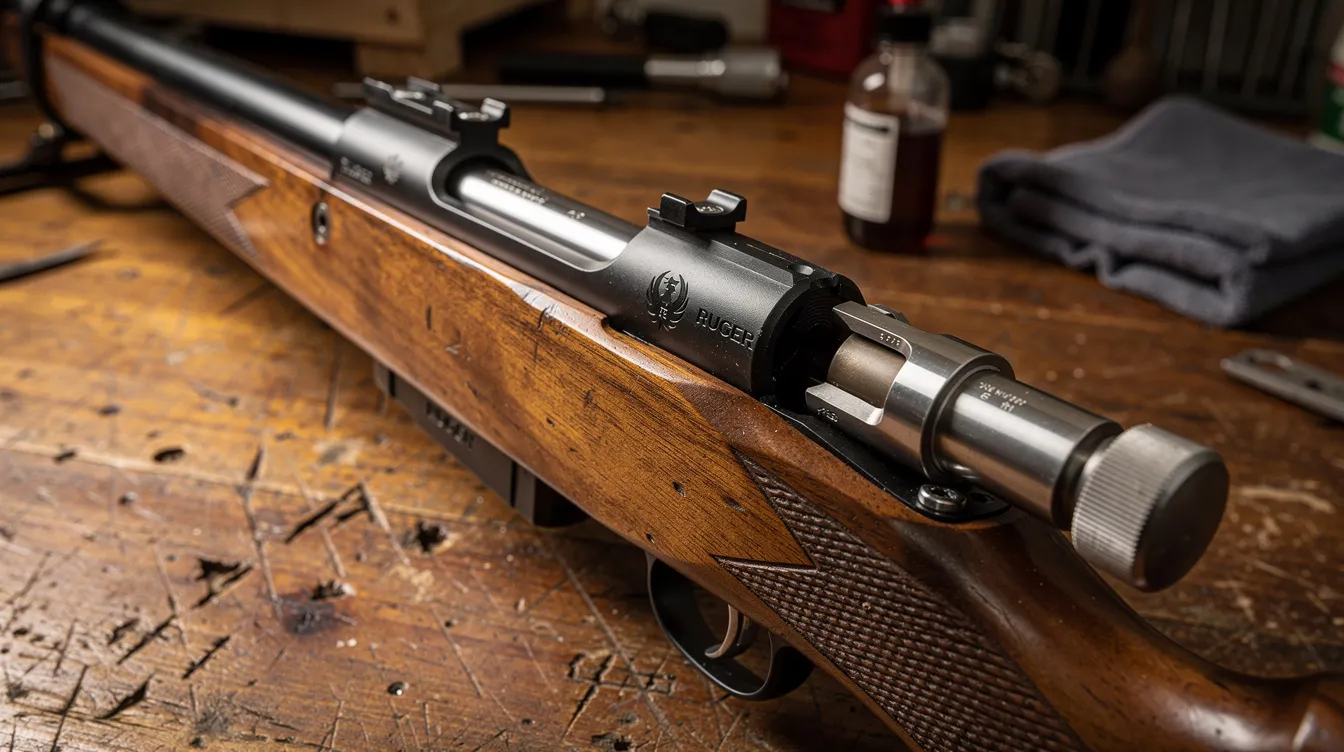
Safety First: Inspection and Security Verification Before Any Upgrade
Before you pick up a wrench or a trigger spring, performing security verification comes first. This is a security service meant to protect against a malicious bot as well as prevent unsafe access you owe yourself and everyone around you.
Pre-upgrade unloaded check:
-
Remove the magazine or open the floor plate and empty it completely.
-
Open the bolt and visually inspect the chamber. Run a finger in to physically confirm it is empty.
-
Remove the bolt entirely if your Ruger model allows it.
-
Confirm the tang safety or three-position safety engages and disengages correctly in every position.
-
Inspect for cracked stocks, loose scope bases, damaged or stripped screws, and rust in the bore or action.
After each upgrade, repeat security verification, then run function tests and a slam-fire test with dummy rounds. The gun must cycle, lock, fire the striker, and reset without any unintended release in every safety position.
Planning Your Ruger M77 Upgrade Path
Not every rifle needs every upgrade. Your hunting style, typical range, and budget should drive decisions. Here are the four main upgrade categories:
-
Reliability work (bolt, feeding, extractor)
-
Trigger upgrade (spring kit or full assembly)
-
Optics and mounting (rings, scope, torque)
-
Stock, bedding, and ergonomics
For a 50-yard woods gun, reliability and a decent recoil pad may be all you need. A 300-yard deer rifle benefits enormously from a good trigger and proper scope mounting. A 600-yard antelope or target setup demands all four categories plus tailored handloads.
If you own a collectible early tang safety rifle, save all original parts in a labeled bag. Modifying sear surfaces or the safety mechanism on these guns can reduce collector value. You can always return to factory configuration if you protect the originals.
Trigger Upgrade Options for the Ruger M77
The single biggest feel improvement on most Ruger M77 rifles is a proper trigger upgrade. Factory Ruger M77 triggers often exceed 4 lbs pull weight with noticeable creep and a mushy break. That is adequate for safety but costs you precision, especially in cold weather with gloves.
Your options break down into three tiers:
-
Polish and adjust the existing factory trigger (limited gains, lowest cost)
-
Install a spring kit that reduces pull weight while keeping the factory trigger and sear
-
Replace with a complete aftermarket trigger assembly for the crispest, most consistent break
Trigger spring kits improve performance across various Ruger 77 models without requiring you to alter sear geometry. A full drop-in trigger assembly gives you the best result but costs more and demands careful fitting.
Adjusting and Improving the Factory Trigger
A competent gunsmith can safely adjust a factory Ruger M77 trigger within limits. Basic work includes setting the overtravel screw, limited pull-weight tuning, and carefully polishing non-sear contact surfaces only.
Target pull weights for general hunting sit around 3–3.5 lbs. For dangerous game or harsh field conditions, keep the trigger pull heavier for a wider safety margin.
Work on tang safety triggers from 1970s–1980s rifles should be approached cautiously. These designs differ from later MK II actions and carry collector value. Never file sear engagement angles without proper jigs and measurement tools.
All adjustments must be followed by harsh function testing: butt-drop tests onto a padded surface, cycling the bolt hard in all safety positions, and repeated dry-fire checks.
Installing Aftermarket Trigger and Spring Kits
For M77 MK II and Hawkeye models, aftermarket kits typically include a new trigger, sear, and reduced-weight spring. Timney triggers are popular for Ruger M77 upgrades and can reduce pull weight to as low as 1.25 lbs. Timney kits are factory calibrated or fully adjustable, giving you flexibility to set the exact break weight you want.
The MCARBO spring kit is another strong option. The MCARBO spring kit reduces trigger pull from 4.5 lbs to 3.2 lbs, cutting pull weight by up to 2 pounds. Shims in the MCARBO kit allow for .006" adjustment, and MCARBO kits are compatible with various Ruger 77 models including the MK II and Hawkeye variants.
Some kits require careful stoning of the safety surface for proper engagement. This is best handled by a gunsmith with machining experience rather than guesswork at the kitchen table.
Always verify compatibility: tang safety actions use different geometry than MK II or Hawkeye actions, and 77/22 or 77/44 kits typically do not interchange. The verification successful point is a trigger that passes both bench tests and real-world field handling without any slam fire risk.
Optics and Mounting: Getting the Most from Ruger Integral Bases
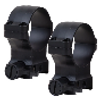
Ruger M77 rifles use proprietary integral scope bases machined directly into the receiver. These are sturdy but require the correct ring pattern. Using quality scope rings helps maintain zero during heavy recoil and rough field transport.
Key decisions when selecting rings:
-
Ring height: Match to your objective lens size while keeping cheek weld natural.
-
Material: Steel rings handle heavy recoil better than aluminum, especially in magnum calibers.
-
Solid vs. QD: Quick-detach rings suit traveling hunters; solid rings maximize rigidity.
Poor ring alignment or improper torque can erase every accuracy gain from a trigger upgrade. Lap your rings lightly to ensure even clamping pressure, especially with aluminum rings.
Scope Mounting Step-by-Step on the Ruger M77
-
Degrease ring screws, bases, and ring contact surfaces with solvent.
-
Lightly oil threads if the manufacturer recommends it.
-
Set the scope in the rings at preliminary eye relief (typically 3–4 inches from your eye at full magnification).
-
Level the rifle on a stable rest, then level the reticle using a bubble level or plumb line.
-
Tighten ring screws incrementally in a cross pattern to the manufacturer's recommended torque, typically 15–25 in-lb. Scope base screws on short-action Ruger rifles are commonly spec'd at 20 in-lb.
-
Cycle the bolt to confirm clearance. Check eye relief at both minimum and maximum magnification.
-
Confirm no scope shadow appears at your normal cheek weld and shooting position.
After the rifle has ridden in a scabbard or truck for a day, re-check zero. If it shifts, your rings or screws need attention.
Stocks, Bedding, and Recoil Management
Original wood stocks on early M77s are prone to warping, especially after decades of humidity cycles. Even the boat paddle stock on some older Rugers, while functional, may have shifted enough to create barrel contact that hurts consistency.
Proper bedding can improve consistency for rifles with wood stocks that have shifted over time. Bedding the action creates a perfect stress-free fit between the receiver and the stock, while free-floating the barrel prevents points of pressure as the barrel heats up during a string of fire.
For harsh conditions, a quality synthetic stock like a Hogue stock or laminate replacement handles Alaska-style wet-cold cycles far better than aging walnut. On heavier calibers, adding a modern recoil pad reduces shooter fatigue and flinch.
Stock work must preserve tang safety movement on earlier models. Binding around the rear action tang causes inconsistent point of impact and can interfere with the safety mechanism.
Glass Bedding and Free-Floating the Barrel
Glass bedding means applying a precision epoxy compound at key contact points so the action sits identically in the stock every time it is reassembled.
Where to bed on a Ruger M77:
-
Under the recoil lug
-
Around the front action screw area
-
A controlled pad at the rear if needed, but never bed the tang tightly
Check barrel channel clearance by sliding a strip of paper between the barrel and stock from the forend tip back to the action. If it drags or catches, the barrel is not free-floating.
Action screws must be properly tightened to avoid accuracy problems. Front action screw torque on most M77 variants runs around 90–95 in-lb; rear screws typically 30–50 in-lb. A quality torque wrench is not optional here.
If you are uncomfortable with epoxy work, seek a gunsmith. Poor bedding, especially over-bedding around the tang, can degrade accuracy instead of improving it.
Improving Bolt Operation, Feeding, and Reliability
A smooth bolt and reliable feeding matter more than tiny group differences when an elk steps out at last light. Safe ways to improve bolt travel on controlled-round-feed M77 actions include thorough cleaning, appropriate lubrication, and light polishing of bolt body surfaces away from locking lugs.
Common feeding issues and corrections:
-
Nose-diving rounds: Check magazine box alignment and the follower spring. An extra round crammed into the magazine can also cause feeding jams.
-
Stiff extraction: Clean the extractor claw and its recess; inspect for burrs.
-
Sticky bolt lift: Lightly polish the cocking cam surface, never the locking lugs.
Older M77s used different follower and magazine box configurations than MK II or Hawkeye rifles. Parts swapping must be done with correct components verified against your serial number.
Any metal removal on lugs, recesses, or locking surfaces should only be done by a machinist or gunsmith with headspace gauges. This is not a place for assuming you can eyeball it.
Comparison Table: Common M77 Upgrade Types
|
Upgrade Type |
Typical Cost Range |
Skill Level |
Avg. Accuracy Impact |
Best Use Case |
|---|---|---|---|---|
|
Trigger spring kit |
$60–$120 |
Intermediate |
Moderate (better shot placement) |
Hunters wanting cleaner break |
|
Full trigger assembly (e.g., Timney trigger) |
$200–$400+ |
Advanced / Gunsmith |
High (consistent pull, less flinch) |
Target shooters, serious hunters |
|
Scope rings (quality CNC steel) |
$80–$200 |
Beginner–Intermediate |
High (maintains zero) |
All shooters |
|
Glass bedding |
$50–$100 DIY / $200–$350 pro |
Advanced / Gunsmith |
Moderate (~0.3 MOA improvement) |
Wood-stocked rifles, precision use |
|
Stock replacement |
$150–$500+ |
Intermediate |
Variable (stability, ergonomics) |
Wet/cold climates, worn stocks |
Trigger and optics upgrades give the best initial return on investment for most shooters. Bedding and stock work compound those gains once the fundamentals are in place.
Compatibility Table: Ruger M77 Variants and Typical Upgrades
|
Rifle Variant |
Safety Type |
Trigger Kit Compatibility |
Stock Options |
Special Notes |
|---|---|---|---|---|
|
Original M77 (1968–1991) |
Tang safety (2-position) |
Limited; check fit carefully |
Wood, some aftermarket synthetics |
Collector value; save original parts |
|
M77 MK II (1991–2006) |
3-position wing |
Most aftermarket kits (Timney, JARD, M*CARBO) |
Wood, synthetic, laminate |
Most upgrade-friendly variant |
|
Hawkeye (2006–present) |
3-position wing |
LC6-specific kits; confirm "Hawkeye" marking |
Factory synthetic and wood; aftermarket options |
LC6 trigger already improved; spring swap often sufficient |
|
77/22, 77/17 |
Varies |
Dedicated rimfire kits only |
Specific inletting |
Do not use centerfire trigger kits |
|
77/44 |
Tang or rotary |
Dedicated kits |
Specific inletting |
Verify magazine and trigger compatibility |
Consulting this table before ordering parts saves time, money, and return shipping. When in doubt, confirm part numbers with the manufacturer or a qualified gunsmith.
Step-by-Step Upgrade Example: From Factory to Field-Ready
Here is a real-world example of upgrading a .30-06 Ruger M77 MK II for elk and deer hunting:
-
Initial inspection and security verification (30 min): Confirm empty chamber, test safety positions, inspect for cracks, loose screws, bore rust.
-
Select and install a trigger upgrade (1–2 hrs): Install an aftermarket trigger kit. Test pull weight with a gauge, expecting around 2.5–3.5 lbs for hunting use. Run drop tests and slam-fire checks.
-
Mount a 3–9x40 scope (1 hr): Degrease, lap rings, torque to spec, level reticle, confirm eye relief.
-
Glass bed the stock (3–4 hrs including cure time): Bed under recoil lug and front screw area. Free-float the barrel. Reassemble and torque action screws.
-
Range test (1 session): Shoot 3-shot groups at 100 and 200 yards. Document group sizes before and after upgrades. Many long-range shooters note that switching to custom handloads can reduce group sizes further. Tailoring ammunition to a specific rifle often produces significant accuracy improvements.
-
Log everything: Record torque settings, ammo brand and load, temperature, and weather conditions for future reference.
A customer recently purchased a used MK II and followed this exact sequence. Groups tightened from 1.5 MOA to under 1 MOA with quality factory ammo. Success came from disciplined, step-by-step work rather than throwing money at every upgrade simultaneously.
Expert Tips from the Bench and the Field
Gunsmith Tip: After 35+ years of machining and hunting with Ruger rifles in Alaska, the single most common mistake I see is skipping function tests after a trigger job. Test your new trigger in cold weather with gloves before you trust it in the field. Bring the exact ammo you will hunt with when zeroing, not whatever is cheapest on the shelf.
-
Tang safety Ruger models carry nostalgic and collector value. Minimize permanent modifications and store originals.
-
In wet coastal climates, blued steel older M77s rust fast. Apply a quality protectant after every hunt to protect the finish and bore.
-
Made-in-USA CNC parts properly matched to the rifle generally outlast low-cost imports in real hunting conditions. The price difference is worth the confidence.
-
A Winchester or Remington owner switching to a Ruger M77 should expect a different manual of arms, especially around the safety and floor plate release. Spend time with the firearm before modifying it.
-
If you shoot factory ammo, try at least three different brands and bullet weights before deciding the rifle is not accurate enough. The gun may just miss the right load.
Common Mistakes When Upgrading a Ruger M77
Most serious problems come from overconfidence, not malice. They are avoidable with planning and patience.
-
Filing sear surfaces without proper jigs - alters engagement angles and creates a dangerous firearm.
-
Mixing parts between tang safety and MK II actions - these are not interchangeable despite looking similar.
-
Over-torquing scope rings - crushes the scope tube and destroys zero. Use a torque wrench, not a gut feeling.
-
Skipping security verification and slam-fire testing after a trigger upgrade - this is not a step you can afford to miss.
-
Over-bedding the tang area - induces stock stress and causes inconsistent point of impact.
-
Using cheap screws or wrong thread pitch hardware - soft screws strip under recoil, turning a day of hunting into hell.
-
Installing a kit labeled "M77" without confirming the exact variant - a world of difference exists between a 1975 tang safety and a 2015 Hawkeye.
-
Ignoring modifying instructions that come with aftermarket kits - every kit has specific installation steps. Read them.
Malicious bots and junk websites sometimes sell counterfeit trigger parts. Buy from reputable dealers, and remember that a junk site may rely on automated bot traffic or similar tactics; if the company cannot answer basic compatibility questions, walk away.
Product Recommendations and When to Use Them
These recommendations follow an educational approach. No product solves every problem.
-
Timney triggers: Best for shooters who want a crisp, adjustable pull without hand-stoning factory internals. Ideal when you want a trigger that verifies safe function right out of the box. Worth the money for anyone who plans to shoot regularly or hunt at distance.
-
M*CARBO spring kits: Sufficient for light hunting use where you want a noticeable improvement without replacing the entire assembly. The quantity of included shims gives you fine-tuning ability.
-
CNC-machined steel scope rings: Essential for hunters who face rough travel, heavy recoil, or cold-weather hunts. Precise machining ensures the scope holds zero season after season.
-
Synthetic stocks: Pair a durable synthetic with a stainless-barreled Hawkeye for wet, cold-weather hunts. This combination handles life in Alaska or the Pacific Northwest better than any walnut and blued steel setup.
-
A spring-only trigger kit is sufficient when factory sear and trigger surfaces are in good shape and you simply need a lighter pull. Invest in a full assembly when the factory parts are worn or when you need a pull weight below 2.5 lbs for target work.
Internal and External Resources for Ruger M77 Owners
For more detailed guidance, explore related content on scope ring selection, installation guides, and Ruger-specific mounting solutions on this website. A companion guide on mounting a scope on your Ruger Hawkeye and keeping zero in harsh weather is also worth reading.
Trustworthy external references include Ruger's official product pages and manuals, SAAMI standards for drop testing and chamber specs, and torque charts from major optic manufacturers like Leupold. These sources provide the technical verification that supports everything mentioned on this page.
Images, Diagrams, and Alt Text
The finished article should incorporate:
-
Original photos of a Ruger M77 action with the bolt open, showing the controlled-round-feed claw.
-
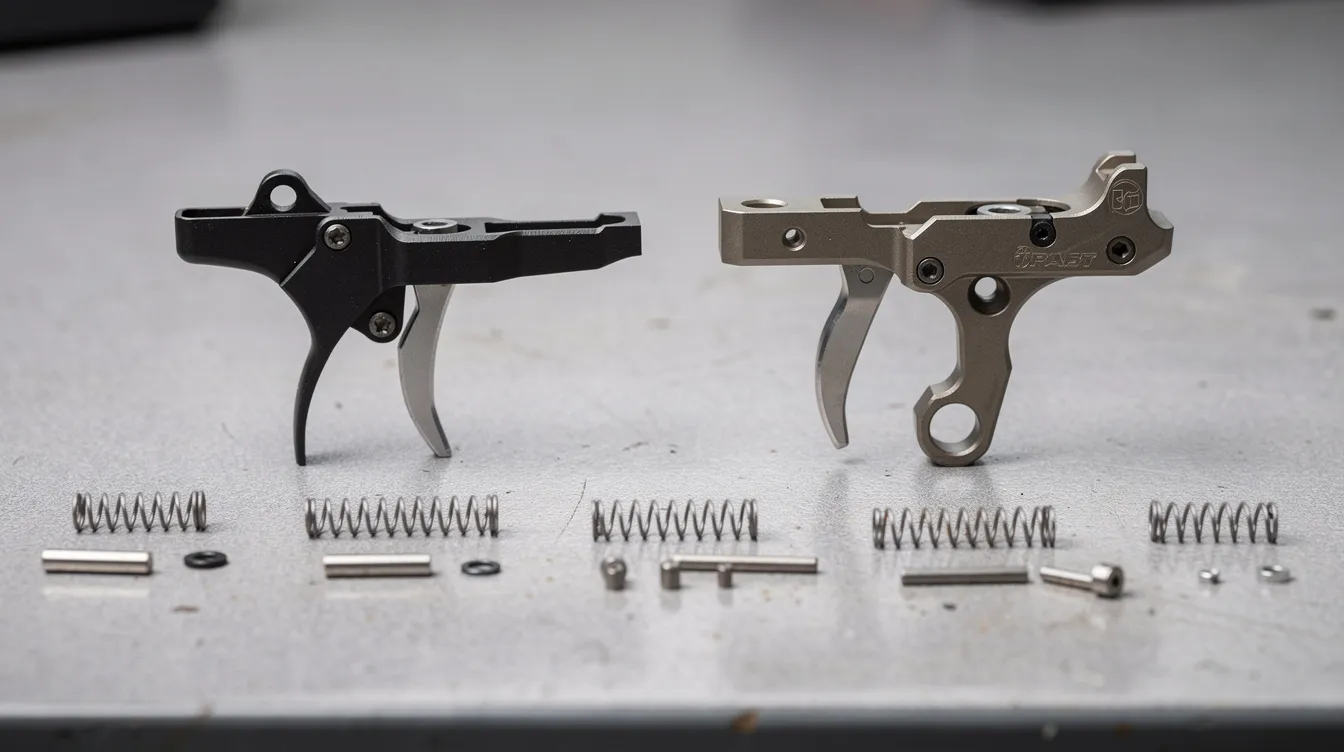
A comparison image of factory vs. upgraded trigger assemblies displayed on a clean bench with labeled parts.
-
A simple diagram highlighting bedding locations on an M77 stock and areas where the barrel channel should be relieved.
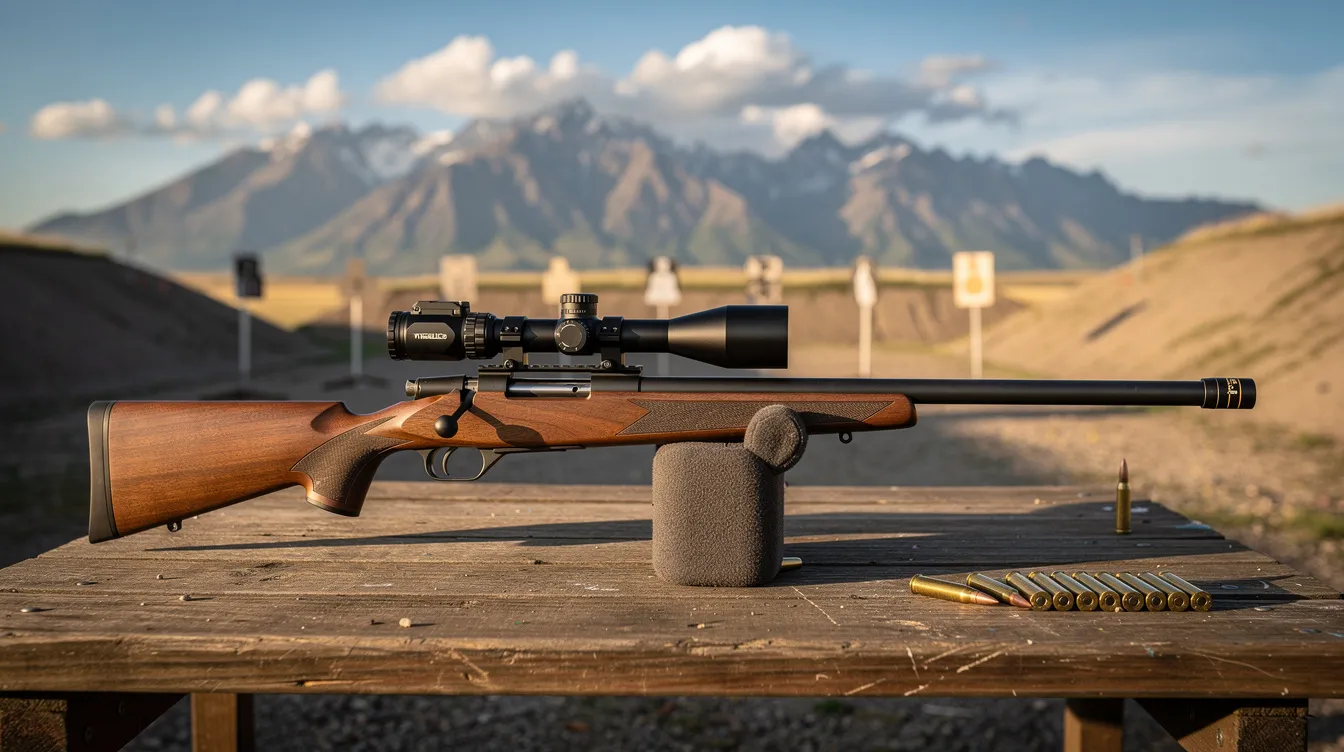
Every image should carry descriptive alt text such as "Ruger M77 tang safety close-up showing safe and fire positions" so that readers waiting for slow page loads or using screen readers still get the full input.
Author Information and Credibility
This article is written from over 35 years of hands-on machining, CNC manufacturing, and gunsmithing experience with Ruger rifles and other bolt actions. Real-world hunting with M77 rifles across Alaska's cold, wet coastal ranges and high-country Lower 48 hunts directly informs every recommendation.
Our shop is based in the USA and focuses on precision-made American parts. We are aware that installing aftermarket components demands the same quality standards as manufacturing them. Formal gunsmithing training, apprenticeship experience, and decades of answered customer questions about Ruger compatibility stand behind this guide.
If you have a specific Ruger model question or need help identifying your variant before attempting a complex modification, contact us directly. We would rather you ask first than sell you a part that does not fit.
Frequently Asked Questions
How do I tell if my rifle is a tang safety M77, a MK II, or a Hawkeye?
Look at the safety location and type. A tang safety M77 has a sliding safety lever on top of the stock wrist behind the bolt. The MK II has a three-position wing safety on the right rear of the action body. The Hawkeye shares the three-position layout but is typically marked "Hawkeye" on the barrel or receiver and uses the LC6 trigger. Check roll marks and serial numbers against Ruger's website to confirm the exact model and production year.
What trigger pull weight is safe for a hunting rifle, and how do I test it?
For most hunting applications, 3–3.5 lbs is a reliable and safe range. Measure with a trigger pull gauge over at least five pulls and average the readings. Follow up with a butt-drop test: cock the rifle unloaded, hold it at waist height, and let the butt drop a few inches onto a padded surface. If the striker releases, the pull weight is too light or sear engagement is insufficient. Revert to a heavier spring immediately.
Can performing security verification and drop tests damage my rifle?
No, when done correctly. Always use an unloaded rifle with dummy rounds if needed for cycling checks. Drop tests should be onto a padded surface from a short height, never slammed. These are safety assurance steps, not stress tests. They protect you from a far more dangerous situation in the field. Every gunsmith with real-world experience performs these tests routinely after any trigger job.
Should I upgrade an older tang safety M77 with modern high-magnification optics?
You can, but expect to address cheek weld and ring height carefully. Large objective lenses on modern scopes often require medium or high rings, which can raise your line of sight above the stock comb. Consider adding a cheek riser or selecting a scope with a smaller objective. Proper bedding and quality steel rings become even more important on older actions to keep everything repeatable under recoil. If you are not willing to invest in proper mounting, you will not see the benefit of expensive glass.
Is it worth handloading ammunition specifically for my Ruger M77?
For most shooters who want to shoot sub-MOA groups consistently, yes. Tailoring bullet seating depth, powder charge, and primer selection to your specific barrel throat and chamber dimensions can cut group sizes dramatically. Factory ammo is designed for average chambers. Your rifle is not average. Start with published load data, work up carefully, and document everything. The improvement over generic factory loads is often the single biggest accuracy gain after a trigger and bedding upgrade.